Code & Go!
Lesson Four
Objectives
This activity will cover the following topics
- Understand what a maze is
- How to create a maze
- Program Colby to go through a maze
Materials
- Pictures of different mazes
- Painter’s tape
- Colby robot
- Green maze grids
- Maze cards
- Purple maze walls
- Orange tunnels
- Yellow cheese
Time to Play & Learn!
Activity 1
You should have a discussion about what a maze is and show your child the different pictures about mazes. “A maze is a complex system of passages or paths between walls or hedges and is designed to confuse people who try to find their way through it”. In order to have your child get a first hand feeling about a maze, you can set up a simple maze in your house and have your child walkthrough. A very simple way to create a maze is to use painter’s tape and create a maze on the floor. Make sure it’s wide enough so that your child has enough room to walk through. Music can be playing to add fun and excitement to this experience.

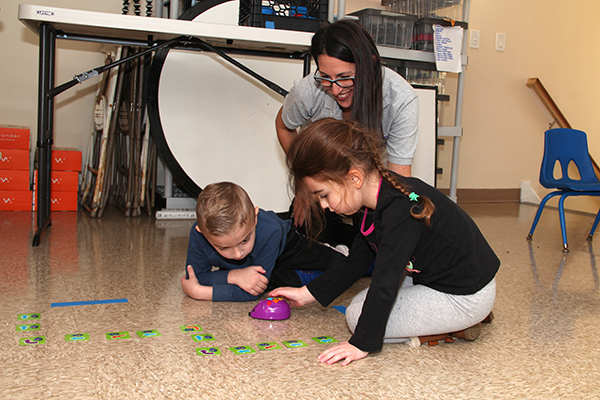
Activity 2
Have enough maze designs already on the floor at a separate part of the room, so your child can get to program their mouse robot to go through each maze. The mazes can be a square with a left or right turn. The maze should not be longer than 1 foot – 1 ½ foot in length. HINT: The mouse robot moves the same forward or backward distance for each press of the forward or backward command. Make sure it has enough room for the mouse robot to turn with the number of forward commands that have been used. Make sure to have a starting point where the mouse robot will be placed each time they start their program. The blue painter’s tape can be used for this. In this way, they can better calculate the distance needed to travel before programming their next command. This exercise will have the children test and retest their ideas about how many times they have to press a command on the mouse robot to successfully conquer the maze challenge.

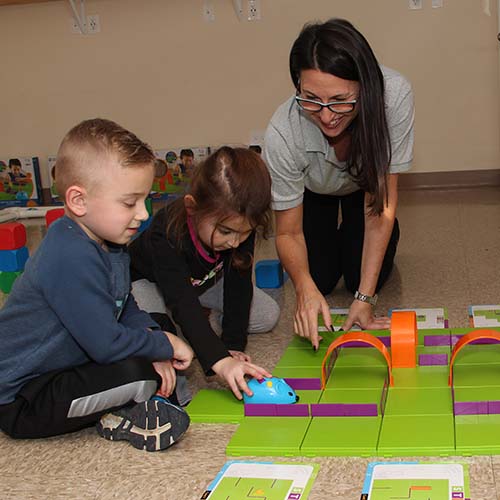
Activity 3
Once your child understands what a maze is, have him/her use the green maze grids from the box and assemble the square on maze card 1. Have your child duplicate the purple walls and then place the yellow cheese on the maze as indicated on maze card 1. Finally, have him/her program their mouse robot to reach the cheese. Once the nose of the mouse robot touches the flat part of the cheese it’s eyes light up. This lesson is the foundation for all the other maze cards to be used that come with this kit.